Supplies
14 count aida fabric for cross-stitching
Patterns for small holiday cross-stitch pieces
Floss
Christmas fabric
Muslin - white
Pins
Sewing machine
Thread
Scissors
Instructions
Cut a 6.5'" x 7.5" piece of aida fabric for cross-stitching, draw stocking pattern in desired size on back of aida fabric. Note: the drawing will not be the actual size of the cut stocking. This is only to give you an idea of where to stitch.
Stitch pattern onto the aida fabric, centering the stitching to be in the middle of the stocking pattern.
Use paper or muslin stocking pattern to cut Christmas fabric for back, top, toe and muslin lining (2 pieces). Cut out cross-stitched stocking from aida fabric.
Pin muslin lining to Christmas backing fabric and cross-stitched stocking. Place/pin toe fabric on the toe of aida fabric, fold the top under to create a finished seam.
Using sewing maching, top stitch along top edge of toe fabric. This will also sew the lining fabric to the cross-stitched stocking top. Same thing for top fabric - place/pin top fabric at top of cross-stitched stocking.
Fold bottom under to create a finished seam, top stitch along bottom of top fabric. Fold the top to the underside of the cross-stiched stocking, again top stitch the fabric.
Fold top of the backing fabric over and sew another top stitch to attach the back lining with the backing fabric.
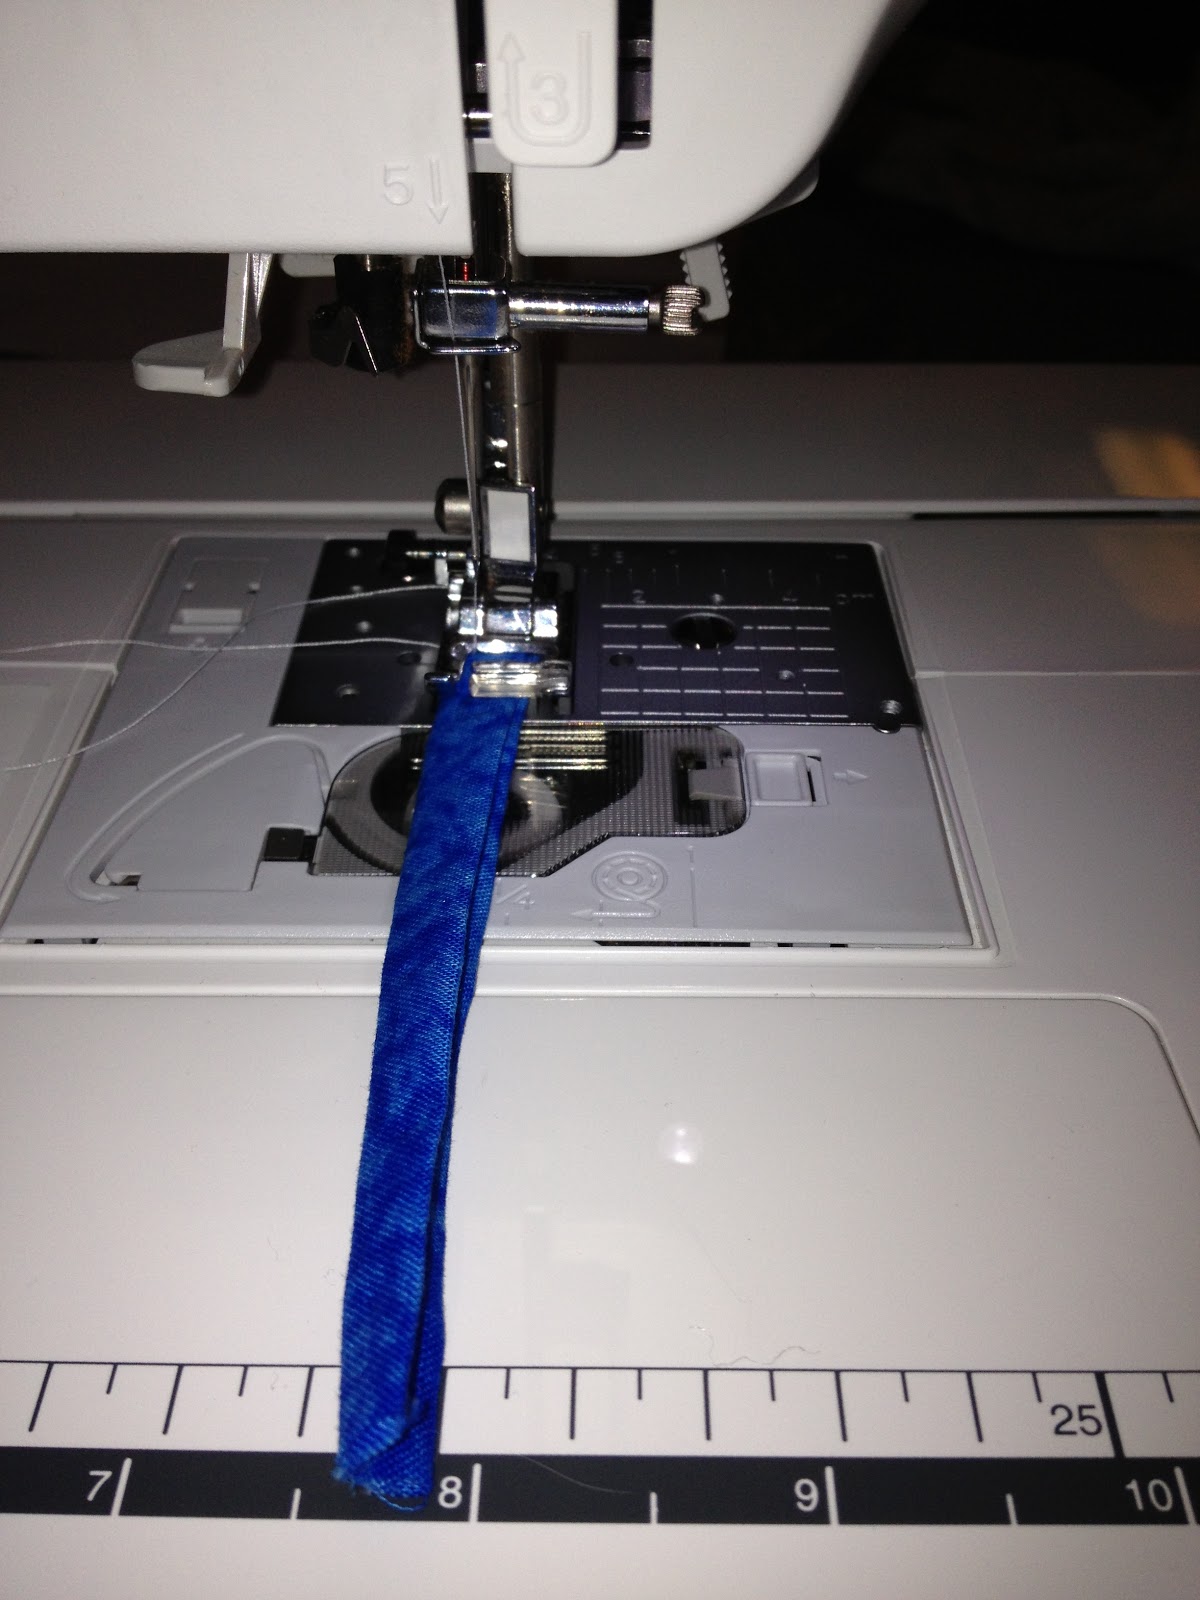
Pin hanging loop by folding each side then folding again so you have finished sides - is similar to double folded binding. Sew straight stitch from top to bottom of hanging loop.
Now pin right sides of fabric and cross-stitched stocking together, adding the hanging loop (from pattern sheet). Sew 1/4" around the edge of stocking, leaving the top open. Trim toe and heel as needed.
Flip stocking. Enjoy your mini cross-stitched stocking. Add a candy cane, lip balm, small lotion, other candies, gift card. Great for teacher gifts, co-worker gifts, or as a gift tag/decoration.

.JPG)


